How to Apply for the Google Ad Grant — A Step-by-Step Guide for Australian Churches
Jun 29, 2026I've written previously about what the Google Ad Grant is and why it matters for Australian churches. If you haven't read that post yet, start there (you can find it here) — it covers the what and the why in detail.
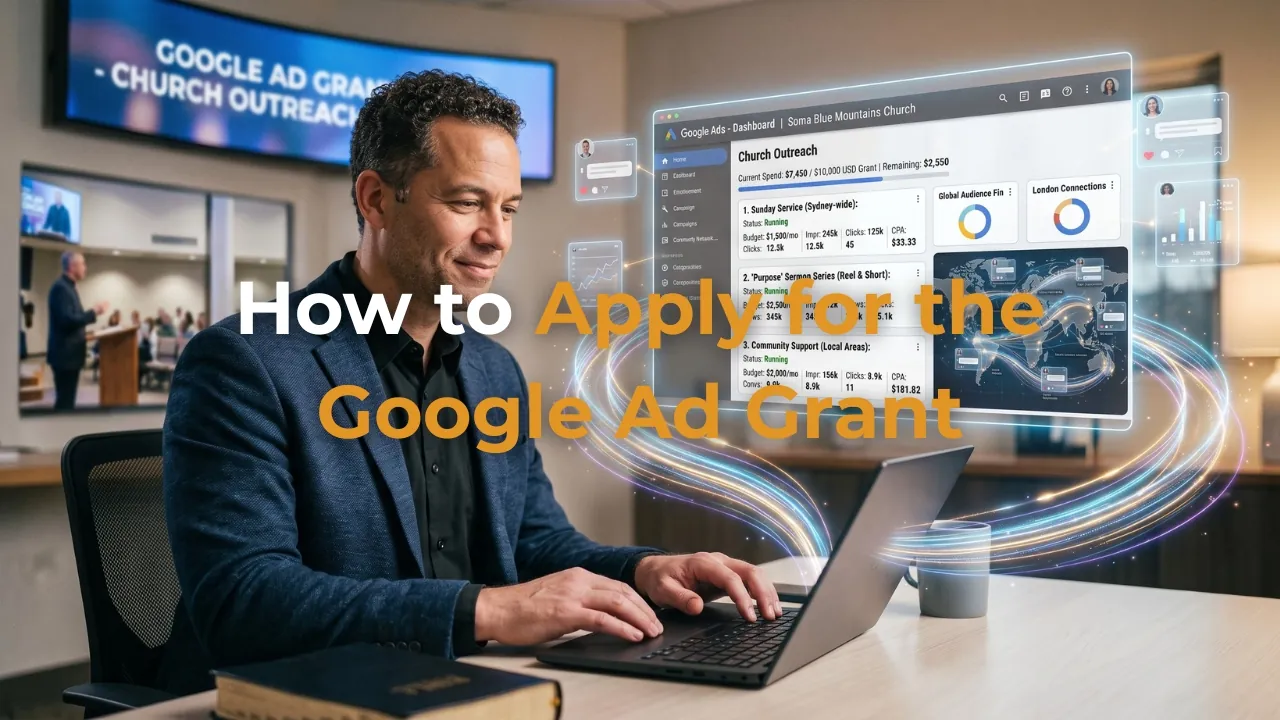
This post is the how. A step-by-step walkthrough of the exact process for applying for the Google Ad Grant as an Australian church — from verifying your charity status to building your first campaign.
I'm going to be specific, practical and honest about where things can go wrong — because I've helped Australian churches through this process and I know exactly where people get stuck.
Before You Start — What You Need to Have Ready
Before you begin the application process, make sure you have the following in place:
- ACNC registration — your church must be registered as a charity with the Australian Charities and Not-for-profits Commission. You can check your status at acnc.gov.au.
- A church website that meets Google's requirements — HTTPS secure, clear mission statement, Privacy Policy, no broken links, and at least one conversion point set up. I've written a full checklist of requirements in my post 7 Things Every Australian Church Website Needs Before Running Ads.
- A church Google account — ideally a Google Workspace for Nonprofits account. Do not use a personal Gmail for this.
- Google Analytics installed on your website with at least one conversion set up.
- 30-60 minutes — the application itself is not long, but you want to do it carefully without rushing.
Phase 1 — Goodstack Charity Verification
Google does not verify charities directly. They use a third-party partner called Goodstack (previously known as TechSoup/Connecting Up in Australia) to confirm that your church is a legitimate registered nonprofit.
Step 1 — Register with Goodstack
Go to goodstack.org and create an account for your church. You'll need your church's ABN and your ACNC registration details. The process is straightforward — it's essentially an online form asking for your organisation's details and charity documentation.
Step 2 — Submit Your Documentation
Goodstack will ask you to upload documentation confirming your ACNC registration. A screenshot or PDF of your church's ACNC listing is usually sufficient. Once submitted, Goodstack typically takes 2-5 business days to review and approve your application.
Step 3 — Receive Your Validation Token
Once approved, Goodstack will provide you with a validation token — a unique code that looks something like 123a456b@YourChurchName. Keep this code safe — you'll need it in the next phase. This token is your proof to Google that you are a verified nonprofit.
Phase 2 — Google for Nonprofits Application
Step 4 — Apply at Google for Nonprofits
Go to google.com/nonprofits and click "Get Started." Sign in with your church Google account — not a personal account. Enter your Goodstack validation token when prompted. Google will use this to verify your charity status.
Step 5 — Complete the Application
The application asks for basic information about your organisation — your website URL, your mission, and confirmation that you meet Google's eligibility requirements. Read the eligibility requirements carefully and answer honestly. Google's reviewers do check.
Step 6 — Wait for Approval
Google typically takes 2-14 business days to review and approve Google for Nonprofits applications. You'll receive an email when your application is approved. Once approved, you'll have access to the full Google for Nonprofits suite — including Google Workspace, YouTube Nonprofit Programme, and the Ad Grant.
Phase 3 — Ad Grant Activation
Being approved for Google for Nonprofits does not automatically activate your Ad Grant. You need to take one additional step to activate the grant specifically.
Step 7 — Activate the Ad Grant
From your Google for Nonprofits dashboard, find the Google Ad Grants product and click "Activate." This will prompt you to either connect an existing Google Ads account or create a new one. Do not connect a paid Google Ads account — if you have one, you'll need to create a separate account specifically for the grant.
Step 8 — Create Your Google Ads Account in Expert Mode
This is the step where most churches make a costly mistake. When you create your Google Ads account, you will be offered two modes — "Smart Mode" (simplified) and "Expert Mode" (advanced). You must choose Expert Mode.
In Smart Mode, Google sets up a simplified account that is not eligible for the Ad Grant. In Expert Mode, you have full control over the account structure — and when you skip the billing setup (which you should), Google recognises it as a grant-eligible account.
Critical: Do not enter any credit card or billing information. Skip the billing step entirely. If you enter billing information, your account may be permanently disqualified from receiving the grant.
Step 9 — Submit Your Account for Grant Review
Once your Expert Mode account is created without billing information, go back to your Google for Nonprofits dashboard and submit your Google Ads Customer ID (found in your Ads account, it looks like XXX-XXX-XXXX) for grant review. Google will conduct a final manual review of your account and website before activating the grant.
The full timeline
From Application to First Live Ad
| Phase | What Happens | Timeframe |
|---|---|---|
| Website preparation | Fix HTTPS, add Privacy Policy, set up Analytics and conversions | 1-3 days |
| Goodstack verification | Register, submit ACNC docs, receive validation token | 2-5 business days |
| Google for Nonprofits | Apply with token, wait for nonprofit status approval | 2-14 business days |
| Ad Grant activation | Create Expert Mode account, skip billing, submit for review | 1-3 days |
| First live ad | Campaigns live — $10,000 USD/month in free advertising active | Total: 2-4 weeks |
Phase 4 — Building Your First Campaign
Once your grant is activated, you need to build your first ad campaigns. This is where the ongoing management begins — and where most churches who try to do this themselves start to struggle.
Step 10 — Create Your First Campaign
In your Google Ads account, create a Search campaign. Set the goal to "Website traffic" or "Leads" depending on your conversion setup. Set your budget to the maximum allowed under the grant — currently $329 USD per day (which totals approximately $10,000 USD per month).
Step 11 — Choose Your Keywords Carefully
The Google Ad Grant has strict keyword rules. You cannot bid on single-word keywords — all keywords must be two words or more and must be specifically relevant to your church's mission. Good examples include "churches in [suburb]," "Christian community [city]," "grief support [suburb]," and "Alpha course [city]." Poor examples include "church," "God," or "Christianity" — these are too generic and will get your grant suspended.
Step 12 — Write Your Ads
Google Search ads have a headline (up to 30 characters per headline, up to 15 headlines), a description (up to 90 characters per description, up to 4 descriptions), and a destination URL. Your headline should match the keyword someone would search, and your destination URL should go to a specific landing page — not your homepage.
Step 13 — Maintain Your 5% Click-Through Rate
This is the ongoing requirement that catches most churches out. Google requires that your Ad Grant account maintains a 5% click-through rate (CTR) — the percentage of people who see your ad and click it — averaged across all your campaigns. If your CTR drops below 5% for two consecutive months, Google suspends your grant.
Maintaining 5% CTR requires regular keyword review, ad copy testing, and ongoing optimisation. It is not a set-and-forget system — which is exactly why ongoing management is so important.
Learn from others' mistakes
The 5 Most Common Google Ad Grant Mistakes
| 1 Entering billing information — Permanently disqualifies your account from receiving the grant. Skip billing entirely when setting up your account. |
| 2 Using single-word keywords — Violates grant policy and will get your account suspended. All keywords must be two words or more. |
| 3 Sending all traffic to the homepage — Destroys your CTR and conversion rate. Every campaign needs a dedicated landing page. |
| 4 Not logging in monthly — Google requires active account management. Accounts with no activity for 30 days risk being suspended. |
| 5 Ignoring CTR decline — If your click-through rate drops below 5% for two consecutive months Google cancels the grant. Monitor it fortnightly. |
Should You Do This Yourself?
The honest answer is: you can — but most churches who try find that the application process takes significantly longer than expected, and the ongoing management is more demanding than they anticipated.
The application itself, done correctly with all the prerequisites in place, typically takes a full working day. The ongoing management — keyword monitoring, CTR maintenance, ad copy testing, conversion review — takes several hours per fortnight.
At DEO Ministry, the complete Google Ad Grant application and ongoing management is included in our Seed Package. We handle everything from the Goodstack verification and website preparation through to the campaign build and fortnightly management — so your church gets the full value of the grant without adding to your team's workload.
If you'd like to find out whether your church qualifies and what it would take to get your grant activated, book a free 30-minute strategy call. I'll check your eligibility, review your website, and give you a clear picture of what's involved.
Book Your Free Strategy Call →
Written by Daniel Jackson — The founder of DEO Ministry and a commissioned elder at Soma Blue Mountains. He holds a Master of Divinity from Christ College Sydney and a Master of Arts in Theology from SMBC. He has helped scale businesses to over $1,000,000 in annual turnover and is passionate about helping Australian churches use digital tools to reach more people with the gospel.